Showing posts with label cake decorating. Show all posts

Tuesday, March 27, 2012

Springtime = Caketime

With the exception of the past two days, we've been blessed with gorgeous spring weather recently! Taking that into consideration, I used the spring as a theme in a recent cake I made for a school celebration. The cake was my favourite chocolate cake, the recipe for which you can find here, or on the recipes page with several of my other faves!

What I really wanted to talk about was how simple it was to make this cake, though some of the details look quite intricate. What you'll take away from this post is not only a simple way to make pretty cakes, but also that I'm a bit lazy (well, not lazy per se, but I sure wouldn't take the time to craft each flower on my own).

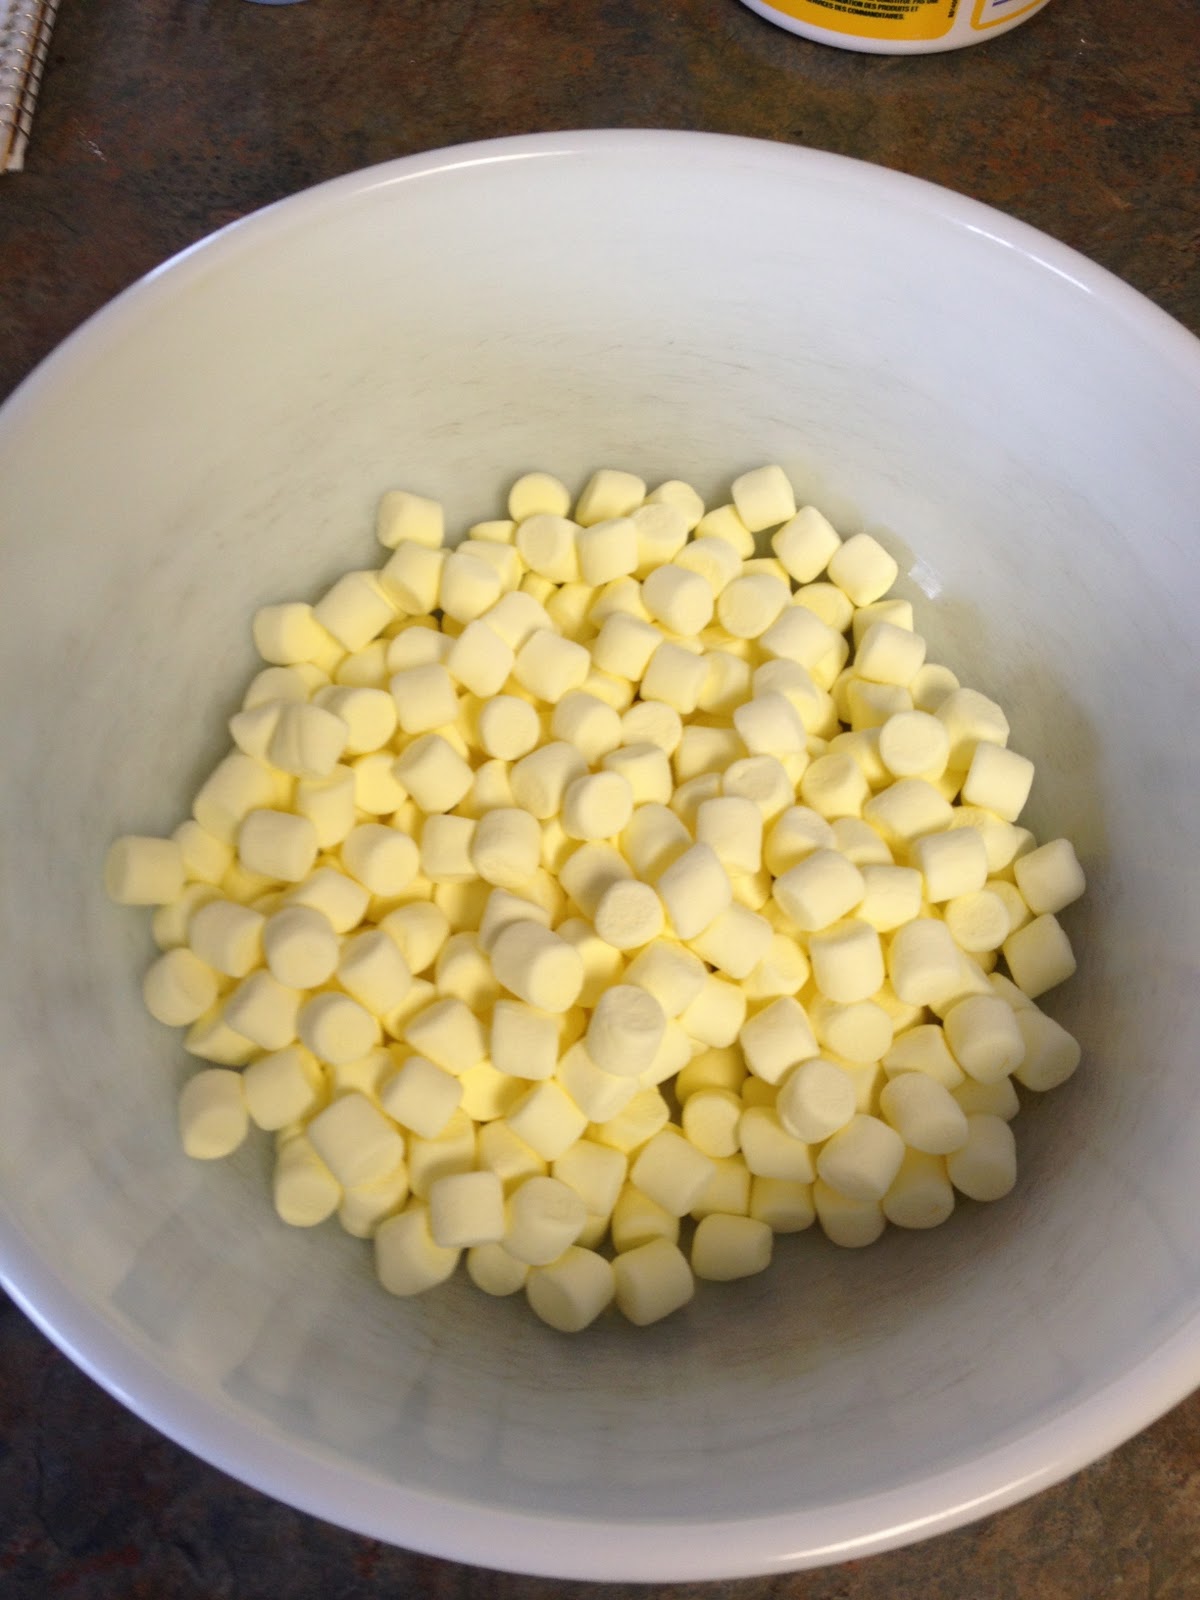
To start, I covered the cake in chocolate buttercream, and the followed that with a layer of fondant. This was a simple marshmallow fondant made from green mini-marshmallows.

Next, I divided gum paste into three sections, colouring them blue, pink, and brown respectively. I've come to find that gum paste is much nicer to work with than fondant, so I chose it for the decorations as opposed to the fondant that I'd usually used previously.

Now, here's the real trick - gum paste molds. They are quite possibly the easiest thing to use, honestly. There are several different Wilton ones to choose from, and I chose a spring themed one. Simply dust the molds with corn starch (I'm sure icing sugar would work well too) and then push the gum paste into the molds. Carefully remove the gum paste and trim any areas that may need trimming. Voila, easy peasy.

To attach the gum paste, I used a small brush and sum water but you can of course use gum glue. Once the pieces were attached, I painted sugar dust onto the flowers for some extra dimension. The cake was a hit, and I think (despite my protest that it was much easier than it looked) I was given much more credit than necessary for this quick little cake. It really does look like spring in a cake though, and tasted alright too!

For more updates, ideas, and general cake banter subscribe to the blog or visit the Facebook, Twitter, and YouTube pages! Until next time!

Tuesday, February 21, 2012

Chocolate Ganache-Filled Red Velvet Cupcakes

Growing up, my sister and I didn't always get along, but now that we've grown up I think you could probably go so far as to even call us friends. So, when she asked if I'd make a cake for her 20th birthday, I was more than happy to oblige (after first having a mid-life crisis because my baby sister is 20, which makes me just plain old).

She requested Red Velvet, which I realize I've already mentioned in a previous post. However, these were not just basic Red Velvet cupcakes. They were filled with chocolate ganache, and were made with a different recipe than the previous cupcakes. If you read my last post, you'll notice that the recipe I used came from Baking With The Cake Boss, and while the cupcakes were definitely red, they were also pretty bland. For these cupcakes, I used a recipe found in Cupcake Diaries (at this point I feel the need to mention that I have still yet to watch Cake Boss, and also that I've never seen DC Cupcakes either - Cupcake Diaries was referred to me). This is the third Red Velvet recipe I've used to date, and it's probably my favourite. You can find it, the chocolate ganache recipe, and the cream cheese recipe on the Recipes page! 

What I instead wanted to talk about was filling cupcakes! I've done this a few times now, and have used two different methods. The first was simply using a Wilton 230 decorating tip to penetrate the cupcake and fill it with the filling of choice. I'm not partial to this method because you cant tell how much you've put into the cupcake, and therefore there is often too little filling as opposed to too much in order to avoid the cupcake breaking. I found that the majority of the filling ended up being absorbed into the cupcake this way because there was so little of it.

Recently, however, I purchased a cupcake corer from Golda's Kitchen. This is what I used when making my sister's cupcakes, and it made filling them a very easy, straightforward process. All you need to do is:

1. Bake cupcakes of choice, as per insturctions
2. Allow cupcakes to cool (you don't want to core them while they're too warm or you'll risk breaking the cupcake)
3. Position corer over centre of cupcake and gently push downward
4. Once corer has been inserted into the cupcake, twist the corer back and forth to cut the inside of the cupcake
5. Remove corer from cupcake, and remove cupcake centre from corer

And voila, cored cupcakes, ready to be filled. If you're using the ganache, like I did, you'll want to make sure it's cooled before filling the cupcakes. Once they're filled as desire, ice your cupcakes and enjoy!

Thursday, February 16, 2012

Soccer Jersey Chocolate Cake

So, about that other cake I made at the end of last week. A few weeks back, a good friend, Mariana (check out her fantastic blog, Gift Favours Under $5), asked me to make a birthday cake featuring the Stoke On The Trent football team's jersey and logo.

This seemed like an easy enough challenge although I was pretty nervous about making a cake for someone outside my family. This was the first time that failure would not be an option and I was feeling the pressure, and for good reason.

I used my favorite chocolate cake recipe for this cake, and it turned out quite nicely except that the chocolate chips in it stuck to the bottom of the pan and it broke coming out. Broke only slightly, but broke nonetheless.

I managed to save the situation by using that broken side of the cake to trim in order to make the sleeves. Crisis averted. For the time being.

Next, my chocolate butter cream was too thick and wouldn't go on smoothly, so I had to thin it out so that I could have a smooth surface.

Next, my fondant was drying out a quite a rapid pace (quicker than usual) and would not cooperate. As if it needed to be more problematic when I'd already fought tooth and nail to get it red.

Finally, I was doing a shell border around the edge of the cake and ran out of white icing with about 3 inches to go and had to make more for that tiny length. By the time I was finished, it looked like a bomb had gone off in my kitchen, with chocolate icing in one corner, vanilla butter cream in another, and the counter covered in scraps of fondant. It took an hour (with the help of my lovely mother) to clean up the mess of icing sugar, fondant, and butter cream that coated just about every surface.

Needless to say, when it was all said and done I was less than satisfied with the results of this cake. Perhaps that was just due to my frustration, I can't be sure. I guess it's true that we are our own harshest critics. Although, I did use gum paste for the first time when making the crest and I can honestly say that I quite enjoyed using it. It's much easier to work with than fondant.

Monday, February 13, 2012

Hello Kitty Cake

Hi there friends! I hope you all had a fantastic weekend/Valentine's Day (if you've already celebrated it). Maybe you tried out those DIY heart-shaped cupcakes (if so, how did they turn out?).

If your weekend was anything like mine though, it was a whirlwind and flew by without there being enough time. Last week, I had even less time than I did over the weekend, because I took on two cakes in addition to everything else.

The first of these cakes was a Hello Kitty cake that my aunt and uncle requested for my cousin's 5th birthday. It was pretty straight forward - use the Hello Kitty pan to bake the cake and then ice it.
This process went quite smoothly. I used a vanilla cake recipe from Baking With The Cake Boss, and my basic butter cream recipe that I've come to know by heart.

There weren't any problems with this cake (though it did take about 1.5 times longer to bake than the recipe indicated because of the depth of the pan) but I feel the need to let you all in on a secret.

Ready for it?

Using a 16 Star Tip to ice the entire cake takes forever. I honestly spent over two hours just piping the white onto the majority of the cake.

In the end though, I was pretty satisfied with the results. It's not too often (yet) that I get to say that so I'll call this cake a success. Also, though I didn't get a chance to try out the cake, I was told that the recipe was a hit!

Check back in a couple days to hear about my less successful cake encounter that also took place last week!

Thursday, February 9, 2012

Valentine's Day Red Velvet Cupcakes

Happy Valentine's Day to all the lovebirds reading this today! I wanted to share with you today some quick and easy heart-shaped cupcakes to celebrate Valentine's Day.

After seeing a photo on Pinterest, I improvised a method to do the same thing as there was no corresponding link to instructions. So, I've created a little how-to for you, based on how I accomplished these cupcakes, so that you can make something special for your special someone.

You will need:

  • Your favourite cake/cupcake batter, and icing
  • A regular muffin pan
  • Muffin pan liners
  • Marbles or glass rocks, or other heat-proof round objects
  • Sprinkles, candies, sugar dust, etc. to decorate
From what I could tell in the photo on Pinterest, they used marbles. I didn't have marbles so I improvised with decorative glass stones. I also used a Red Velvet cake recipe from Baking With The Cake Boss (I've still yet to watch his show), as well as a Cream Cheese Icing from the book. Once you've got your batter prepared, this is what you'll want to do:
  1. Line muffin pan with liners (I used Valentine's Day themed liners)
  2. Fill each liner with your cake batter (using something like an ice-cream scoop will help alleviate any mess and ensure that the cupcakes are roughly the same size)
  3. Using your index finger, push the liner towards the centre of the muffin hole
  4. Fill the resulting space with marbles or other objects to hold the liner in place (you'll want to stack a few on top of each other, so that the batter doesn't bake over top of the marble)
  5. Bake cupcakes according to recipe directions
  6. Let cupcakes cool, and remove from pan - be careful, the marbles may still be warm
  7. Allow cupcakes to cool completely and ice as desired
When icing my cupcakes, I chose to decorate them with red and white sugar sprinkles, heart-shaped candy sprinkles, and silver sugar dust. I used Valentine's Day themed cookie cutters on top of the cupcakes and filled the cookie cutter in with the dust (or sprinkles in some cases) to leave the decorations in the shapes of hearts, flowers, bells, etc. 
These were quick and easy, without the cost of purchasing a heart-shaped pan, or the need to elaborately decorate a cake! You get delicious results, and more time to spend with loved ones! 

On a side note - the Red Velvet cupcakes stayed nice and moist, and tasted pretty good, however the recipe only calls for 1tbsp of cocoa powder. I found that this left them a bit bland, as red velvet is supposed to have that cocoa taste. I'll be using my old recipe next time!

Friday, February 3, 2012

Homemade Fondant Icing

A few weeks ago, I stumbled upon a photo of homemade fondant on Pinterest, and re-pinned the photo/link so that I could refer to it in the future. The future has arrived, my friends.

Until now I'd always been using store-bought fondant. I didn't have a clue what I was doing, and felt that it was best to stick with the pre-made stuff. Having said that, let me tell you that buying fondant is expensive. Especially for any fondant other than basic white. So I finally decided that I'd attempt to make my own, keeping in mind the link I'd found (click here to see it for yourself). I didn't have the web page open in front of me, but kept it in mind while making the fondant.


Like the instructions showed, I used multi-coloured marshmallows. I bought two bags and sorted through them to separate all of the colours, and set each group aside in its own Ziplock bag.


The first colour I used was the pink, and it didn't go nearly as smoothly as the green and yellow did - I ran out of icing sugar before I got to make the orange. Anyway, the instructions say to toss the marshmallows in a small amount of water. I forgot that step, and ended up with a sticky mess that was a nightmare to work with. The marshmallow goo got stuck to the spoon, to the bowl, to the counter, the cutting board, my hands, everything you could imagine. The hassle of getting the sticky gunk off everything was nearly enough to put me off making marshmallow fondant again.

Rather than give up right away, however, I checked back to that link, via Pinterest, and found that I had forgotten one tiny, simple step. I decided to try again with the yellow marshmallows and found that it worked much better. So, the key is to toss those little marshmallows with water! It made the whole process so much smoother, and it actually ended up being pretty simple. By the time I'd moved on to the green marshmallows, I felt like a pro.

Now, I don't really like the taste of fondant, though it looks nice (thank heavens for the real icing layer that's found under fondant), but the marshmallow stuff tastes worlds better than the store bought kind, and its so much nicer on the wallet!

Tuesday, January 31, 2012

Cake Decorating/Baking Tips and Tricks

Why hello there, lovely readers!

Today I wanted to take some time out of telling you about my decorating encounters to share a few of my favourite tips and tricks, as well as a few that I just believe to be truly important. In the past 9 months or so that I've been (sporadically) learning the fine art of cake decorating, I've encountered many a problem, as well as many solutions and decided that some were worth sharing. These may be things I've learned on my own, or through reading (I got "Baking With The Cake Boss" for Christmas - so many useful tips! Maybe I should start watching that show...). I'm going to start predominantly with baking tips today, and share more decorating tips in the coming weeks.

First things first, your ingredients are essential when baking, so I've chosen a few things I believe you should be doing each time you bake:

  • Read the entire recipe. Familiarize yourself with the time it's going to take you to prep, as well as the bake time. Identify the necessary ingredients - do you have everything you need? Does anything need to chill or warm up to room temperature? Also, check what temperature your oven needs to be, and preheat it! 
  • Let your ingredients come to room temperature. Unless a recipe calls for different, its best to let ingredients that are normally kept in the fridge (butter, eggs, milk) warm up to room temperature before baking. For instance, many recipes call for softened butter.
    • An important note about butter: There is a reason for the butter drawer in your fridge - butter absorbs other scents and flavours. Be sure to keep your butter sealed away from other food items or your baking could end up tasting like last week's leftovers. 
  • Older, but not expired eggs, work better than fresh eggs - the yolks are firmer, allowing you to separate them from the whites easier. The whites will also be frothier when you whip older eggs. 
  • A stand mixer can be your best friend (I love the Kitchenaid stand mixer). Keep children away from these though. (When I was 4, I got my ponytail stuck in one. Little bald girls don't feel cute!)
  • Convection ovens will bake your items quicker than traditional ovens. For this reason, many ovens will automatically reduce the temperature (my oven reduces the temperature by 25 degrees). I don't like baking at the wrong temperature, however, so I always add an extra 25 degrees to the temperature so it is reduced to the correct heat, and I reduce the time before I check the items. HOWEVER I do find that convection baking also dries the items out a little more than the traditional method, so I rarely use convection. Typically I only use this when baking with a deep pan, such as the Wonder Mold pan used for the Barbie Doll Cake
  • Cream cheese icing is not ideal for decorating, although it tastes delicious, stick with a butter cream for best results
  • A crumb coat is an essential base to get smooth, crumb-free icing - check out this video, which has a great part about crumb coating 
    I hope you found some of this useful, and I'll have more helpful tips and tricks in the coming weeks! Feel free to share your own personal tips and tricks in the comments section below!

Tuesday, January 24, 2012

Barbie Doll Birthday Cake

One of my best friends and I have known each other since grade 9, and have been through boyfriends, drama, high school, and even university together. In fact, we were roommates for two years. I'd do anything for this gal, and this year for her 22nd birthday, which just passed, what she wanted was a cake. There is a bakery in our home town called Hank's Pastries that makes a dutch cake, which is a sponge cake with vanilla custard filling and butter cream icing. This is the cake that Alisha wanted, and who am I to deny my bestie?
This was the perfect chance for me to use a cake pan I'd been itching to try - the Wonder Mold pan. I had wanted to try it but had no reason to buy it - until now. I knew she'd like it, even if it was a cake more geared towards a 6 year old. Once I bought the pan, and had figured out what the cake would look like, the next, and far more pressing issue, was figuring out a recipe to use. I searched the internet to find recipes that sounded similar to the Dutch cake the Alisha had requested, and even made a practice sponge cake for her to try to make sure I was on the right track.
This has to have been one of the smoothest projects I've done to date. The cake cooked nicely, my custard filling turned out, and the cake decorating even worked out pretty well.
Something to note - the deeper pans require longer cooking times, however you need to keep an eye on the cake and make sure that the top doesn't burn! With it being exposed to the heat so much longer, pay attention that it doesn't get darker than its supposed to.
Once the cake was made, I formed cylinders out of fondant to form the ripples under the skirt of the dress, before laying the pink fondant over the top. There were a few problem areas around the base of the cake because of the ruffles, but they were easily concealed with darker pink fondant ribbon. I also used a star tip to embellish the dress.
The trickiest part of this whole thing may have been attaching the bodice of the dress to the doll. It took me a few tries, but it stayed in place eventually. I love when these things work out!
When the time came to give her the cake, we spent the day cozied under blankets having a Harry Potter marathon and eating cake. Doesn't get much better.

Share This!